The HSSGameStick is a powerful, compact solution for anyone looking to relive the golden age of video games right on their modern television. While this device is celebrated for its plug-and-play convenience, true enthusiasts know that digging into the manual settings hssgamestick is the key to unlocking a superior emulation experience.
Whether I am trying to eliminate input lag, sharpen the visual fidelity, or ensure my buttons are perfectly mapped, taking the time to configure the system properly makes a world of difference. In this guide, I will walk myself through the essential tweaks and fixes needed to transform my gaming sessions, ensuring that every classic title runs smoothly and feels just as responsive as I remember it.
Understanding the Importance of Manual Settings HSSGameStick

Operating a plug-and-play emulation ecosystem means balancing restricted hardware resources with diverse console architectures. Relying purely on default configurations often limits performance potential because stock settings prioritize baseline universal compatibility over speed or visual clarity. When I dive into the manual settings hssgamestick, I unlock direct control over clock rates, renderers, and input registers.
Tailoring these adjustments provides immediate operational benefits. Fine-tuning the software layer reduces hardware overhead, allowing resource-heavy emulators to run smoothly. Manual manipulation addresses three core areas: input response stabilization, display scaling optimization, and cache management. By learning the system logic, I maximize the efficiency of the integrated quad-core processor and ensure consistent frame generation across different television panels.
Accessing the Core System Menu for Configuration

The graphical user interface relies on a dual-layer menu system consisting of the primary frontend wrapper and the underlying emulator core options. Accessing these software layers requires specific button combinations executed from your wireless gamepad during startup or active gameplay.
The Frontend Interface Execution
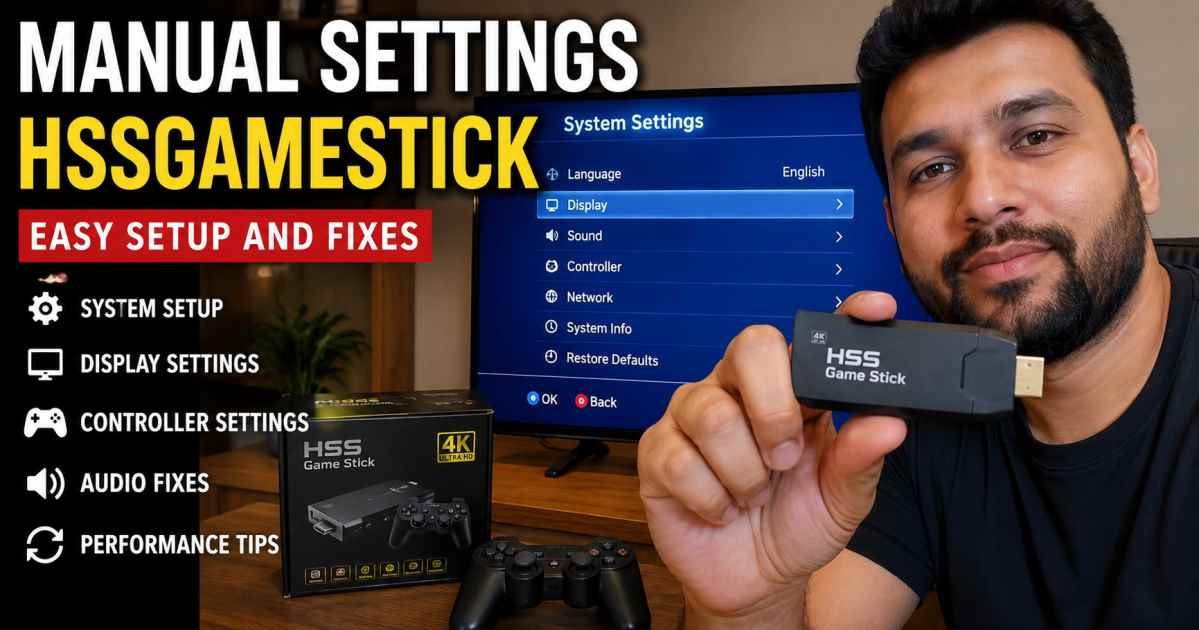
To open the global parameters on the hssgamestick, power on the device, and wait for the main interface layout to load completely. Press the SELECT button on the primary controller handle to pull up the central settings list. This menu manages system-level variables, including the global interface language, local file search directories, data restoration, and hardware parameters. To open the deeper UI modification submenu, press the START button on the controller pad, which reveals options for themes, screensavers, and visibility of the structural system directory.
Core Level Interception
Modifying retro console behaviors requires accessing the backend core options while a game is running. I use the universal hardware command by pressing SELECT and START simultaneously on the controller pad. This command interrupts the active emulation layer and drops the interface into the configuration environment. From here, individual game engine properties, save states, and specialized instruction manual hssgamestick overrides can be saved directly to the flash storage card.
Optimizing Display Resolution and Aspect Ratio
Modern high definition televisions handle pixel scaling differently than vintage analog monitors. Standard output configurations often stretch low-resolution assets, resulting in blurred textures, jagged edges, and heavy pixel distortion. Correcting this requires manual display matching.
Resolving Resolution and Scaling Parameters
Navigate through the system directory via Settings, then enter Display Settings. Modern television sets use high-density pixel layouts that require precise signal alignment. Setting the video output parameters to a fixed 1080p profile ensures proper signal handshake with modern display panels. To prevent screen stretching, change the global aspect ratio from widescreen 16:9 to the native retro standard of 4:3. This forces the display engine to generate vertical black pillars on the sides of the screen, preserving the original game designs’ geometric shapes.
Activating Visual Scaling Filters
For clean visual output, toggle the Bilinear Filtering setting under the UI parameters. Turning this feature off exposes crisp integer scaling, which preserves hard pixel boundaries. Alternatively, turning on video shaders introduces classic scanline overlays that replicate old-school cathode-ray tube aesthetics. This layout visually masks low-resolution rendering artifacts without impacting hardware performance.
Calibrating Controller Inputs for Better Responsiveness
Wireless 2.4G gamepads communicate via a small USB receiver connected to the side of the stick. Signal interference and generic button layouts can cause input lag or awkward control schemes during fast-paced gameplay.
Remapping Input Nodes
To establish a custom layout, enter the central settings screen by pressing SELECT, then navigate down to Controller Configuration Button Mapping. The system processes inputs sequentially according to the physical board architecture. Manually select each layout node, press the corresponding button on your controller, and confirm the assignment. This process is essential for arcade-style fighting titles or complex side-scrollers where stock button layouts feel unnatural.
| Physical Button | Target Core Output | Calibration Priority |
| Directional D-Pad | Primary Motion Axis | High Priority (Deadzone Minimum) |
| Left Analog Rocker | Secondary Motion Axis | High Priority (Linear Travel 1:1) |
| Face Button A | Primary Action Key | Critical Priority (Zero Latency) |
| Face Button B | Secondary Action Key | Critical Priority (Zero Latency) |
| Shoulder Key R1 | Auxiliary Modifier | Medium Priority (Toggle Setting) |
| Shoulder Key L1 | State Trigger | Medium Priority (Toggle Setting) |
Eliminating Signal Latency and Deadzones
Wireless dropouts occur when the receiver is obstructed by a television panel. Always connect the bundled HDMI extension cable to position the main unit out in the open, which improves the direct line of sight for the 2.4G signal. Inside the controller settings hssgamestick menu, adjust the analog stick deadzone to 5 percent. This slight adjustment ensures small movements register instantly, eliminating dead travel space and significantly increasing overall in-game response times.
Advanced Performance Tweaks for Smoother Gameplay
Emulating complex 16-bit or early 32-bit platforms requires careful optimization of the available system RAM and graphics processor pipelines. If frame rates drop below native levels, specific manual optimizations can help restore steady performance.
Fine-Tuning Core Execution Engine Rules
- Frame Skipping Management: Navigate to the advanced core properties and set Frame Skipping to 1. This instructs the rendering system to drop every other visual frame during intensive rendering tasks, maintaining fluid gameplay speed without altering the game’s physical velocity.
- Audio Interleaving Adjustment: Set audio synchronization options to asynchronous execution. This change untethers audio processing from the main video synchronization loop, preventing visual frame drops during moments of dense multi-channel audio output.
- Threaded Video Processing: Turn the Threaded Video option to active. This distributes rendering across multiple CPU cores, minimizing processing bottlenecks in intensive games.
Troubleshooting Common Audio and Visual Glitches
Errors such as blank screens, flickering textures, or distorted audio often stem from a bad display handshake or corrupted initialization cache. Most of these issues can be resolved by adjusting settings within the boot menu.
Audio Synchronization and Distortion Fixes
When game sound crackles or lags behind physical actions, the issue points to sample-rate mismatches between the emulation engine and the internal DAC. Access the system configuration profile and locate the audio frequency parameters. Shift the output rate from 48000 Hz down to 44100 Hz. This adjustment matches classic audio formats perfectly and reduces structural processing stress, eliminating crackling sounds and aligning audio timing with the visual frame output.
Visual Artifact and Signal Loss Fixes
A sudden black screen or intermittent signal drop indicates that the current video refresh rate does not match the television’s panel refresh rate. To address this, access the video output mode settings and switch the configuration from automatic to a fixed 60 Hz profile. If textures continue to flicker, clear the temporary video cache by running the Restore Default Settings routine from the core boot menu. This action rebuilds the default texture pipeline without modifying your stored game directories or saved progress files.
Managing Firmware Updates and System Stability
The stability of your system depends heavily on the health of your storage media and the integrity of its configuration scripts. Over time, file structures can degrade due to improper power-downs or file system conflicts.
Executing Micro SD Storage Architecture Maintenance
The factory storage card holds the primary operating system files and data directories. To maintain peak performance, connect the card to a computer using a dedicated USB adapter. Run a disk scan utility to locate and repair logical file errors. It is highly recommended to clone the entire drive partition structure to a high-quality, high-speed card. This step protects your data from random write errors and provides faster read speeds during long loading screens.
Manual Data Additions and Folder Integration
- System Bios Directory: Stored within the bios folder. Contains core hardware system files, such as BIN or ROM extensions required for advanced core loading.
- Cheat Code Database: Stored within the cheats folder. Houses optional game modification databases utilizing CHT file formats.
- Nintendo 8-Bit Storage: Located in the FC folder inside the game directory. Accepts ROM files utilizing the NES extension.
- Super Nintendo 16-Bit Storage: Located in the SFC folder inside the game directory. Accepts ROM files utilizing the SMC or SFC extensions.
- Sega Mega Drive Storage: Located in the md folder inside the game directory. Accepts ROM files utilizing the BIN or SMD extensions.
To add custom files safely, place the target files in their respective console folders, matching the extensions outlined above. Avoid copying massive libraries all at once, as this can overload the boot scanner. If newly added files do not appear on the system interface right away, navigate to the main parameters menu and select the refresh directory index option to rebuild the game database.
Best Practices for Customizing Your Gaming Experience
To keep the system running reliably, it helps to establish a few regular maintenance habits. Treating the device like a microcomputer prevents data loss and maintains performance across extended play sessions.
Establishing Safe Shutdown and Save Procedures
Never pull the power cable directly from the main unit while a game core is active. Doing so can interrupt open save routines and corrupt the storage card file allocation table. Always exit the active emulator first by pressing START and SELECT simultaneously. Once you return to the main interface menu, press the power options key, then select the Safe System Shutdown option. When saving your progress, alternate between traditional internal memory card slots and modern emulated save states to ensure your data is always backed up.
Preserving System Stability Over Extended Use
Keep the underlying operating system clean by regularly removing unused system logs and clearing out corrupted save states. If you run into persistent system issues, open the central settings list and select Restore Default Settings to clear out any conflicting custom configurations. This resets the core system files back to their stable factory baseline while keeping your game folders and personal save profiles safe.